- Winter "Indoor" Work -
An apology up front for the curveball - this page doesn't really follow the 'click the thumbnail' protocol I've been using to this point. There hasn't been much to photograph this winter, so close-ups didn't seem necessary. Now back to your regularly scheduled tour...
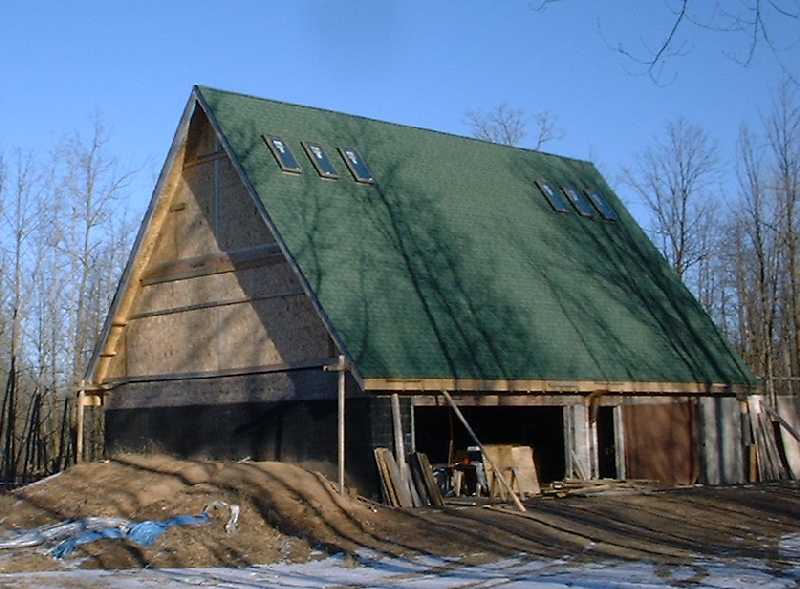
November 2006 - February 2007: As you can see, I covered the ends of the structure with plywood this year so I could work inside, out of the wind. It's been unseasonably warm this year, so the plywood combined with a little greenhouse effect from the skylight windows has made it pretty pleasant to work inside so far this winter.
The first indoor job I decided to tackle was laying the subfloor in the loft rooms. I remember watching the contractors lay the subfloor over the entire roof of the garage (aka: the main floor of the living space) and thinking they had a pretty slick method. It's 3/4" T&G (tongue and groove) subfloor, which is dense, heavy and difficult for one person to install. The real problem is the T&G part of it, and you actually need a sledge hammer or maul and a piece of 2x4 to disperse the force over a wide area of the groove to avoid damaging it. I have a maul somewhere, but I looked around in my storage unit and couldn't find it, so I bought a new 8# sledge hammer. I wasn't sure quite how it would work with one person lining it up and standing on it while it was being tapped in, but it really did go pretty easily. I didn't use glue like they did on the main subfloor, just a few nails to tack it in place for now (see below). I'll add screws later so it doesn't end up being a squeaky floor, which comes from the nails moving in and out of the joists. The next task will be to fill in the gaps where the loft floor layout was less than perfect, and also putting reinforcing sections of 2x4 under the subfloor sheets that are resting only halfway on a joist (more pictures soon).
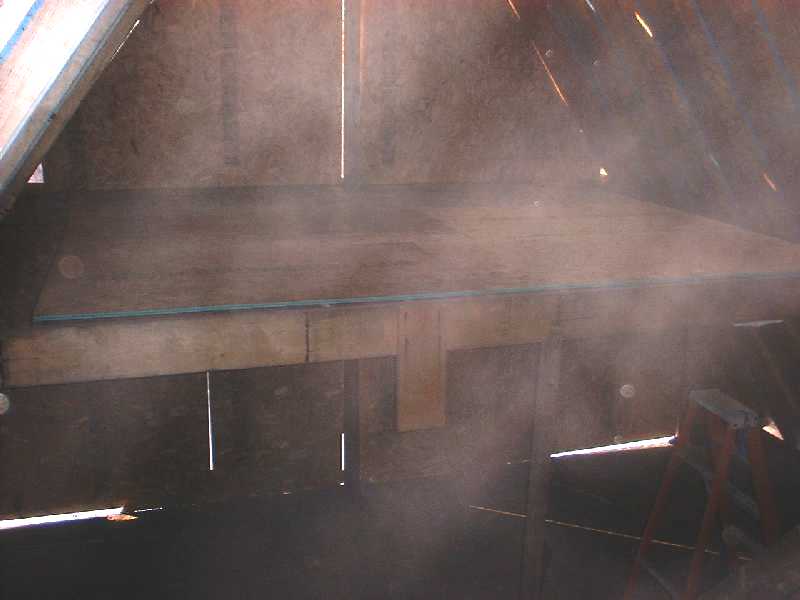
I apologize for the quality of this picture, and I'll probably switch it out later for a better one. However, for the time being, if you look close, you'll notice that the rough-trimmed flooring does not extend all the way to the rafters. That was done on purpose because I wanted even air circulation throughout the house, both for heat distribution in the winter and hot air escape (out the skylights) in the summer. The floor footprint of the bedrooms is approx. 12'x15'. When I decided to put loft rooms in, which actually occurred just before buying the rafter lumber last year, I had to decide just how big those rooms would need to be. I figured 10'x12' useable space would be enough, considering the theme of simplicity this house represents. "Useable space", to me, means an area 6' tall, so basically you have an imaginary box 6' high x 10's wide by 12' deep. All the floor space outside the 6' can be used for furniture (dresser) and storage (closet space), leaving the rest of the bedroom for a bed and walking around.
Previous Series Series Headings List Next Series
Copyright © 2002- Wright Track Enterprises, Inc. All rights reserved.