- Upper Floor Studwalls and Siding-
(click pictures for larger view)
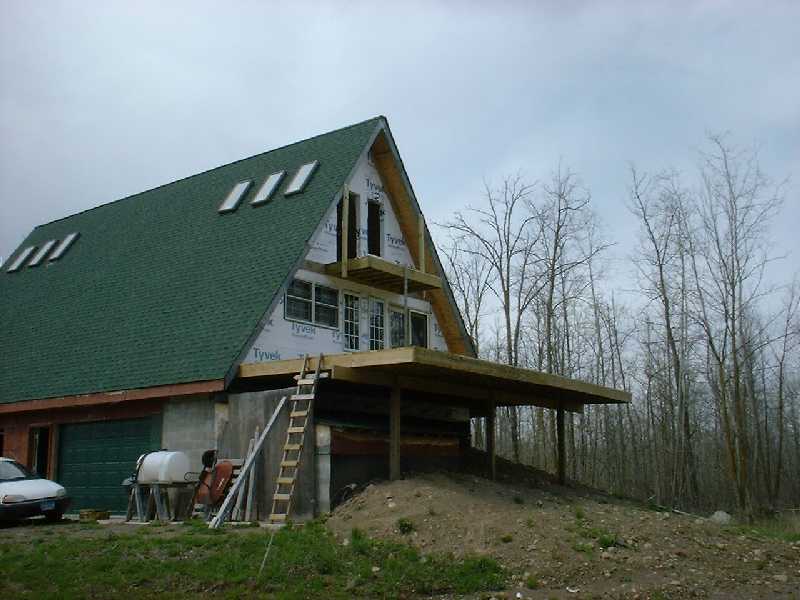
May 2008: You may have noticed the beginnings of the upper floor studwalls in the last few pictures on the previous page. The fact of the matter is that I built those studwalls quite some time ago, but had to redo a lot of it because the door and window configurations changed. I thought I had taken more pictures during this process, but apparently I didn't or I lost them (it happens). What I do have is pictures of things further along - a finished east upper studwall, complete with Tyvek, then with the window and door installed. I used the last Marvin casement that matched the lower ones on this side, and the door is a Pella, which I discuss a little later. Notice I still have that junk Windsor double-hung (lower level, left), which held things up later on. Oh, and the upper west looks a great deal like the upper east, which you'll see in the siding pictures.

-Siding-
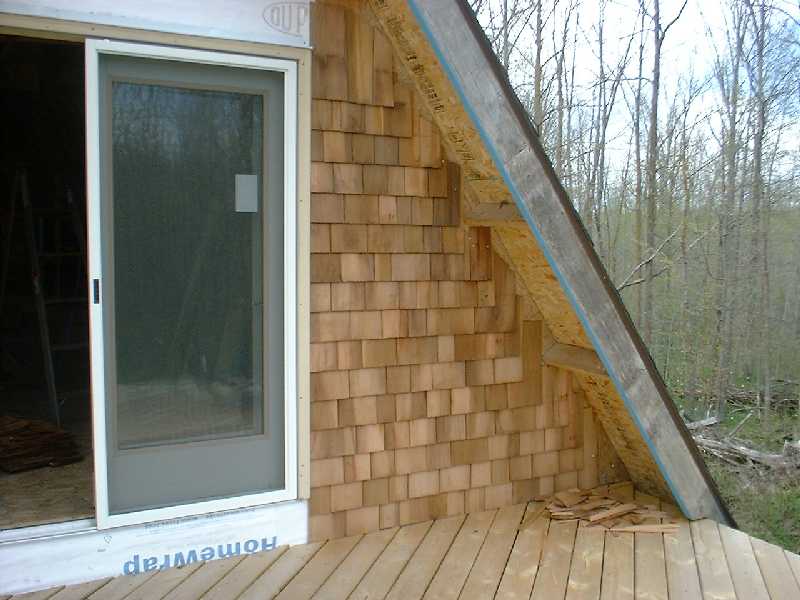
I chose cedar shingle (not shake) siding for a few reasons. I figured it would be an easy one-person job, it looks cool, hides a variety of flaws, wears nicely, is low-no maintenance and last but not least - I got a deal on it (shocker there, huh?). I found a guy on CraigsList that had 19 bundles of it, which I figured would be way more than enough. The same guy had (2) unused Pella patio doors that somewhat matched (one another), and the whole deal came to $1100 - delivered to Milaca. The doors alone would have cost over $300 each retail, and the shingles (Certigrade Blue Label Premium) typically cost over $50/bundle. Don't even get me started on the cost of driving my truck to Minneapolis and back at $4.00/gallon! Below you can see a closeup of my 'starter' corner.
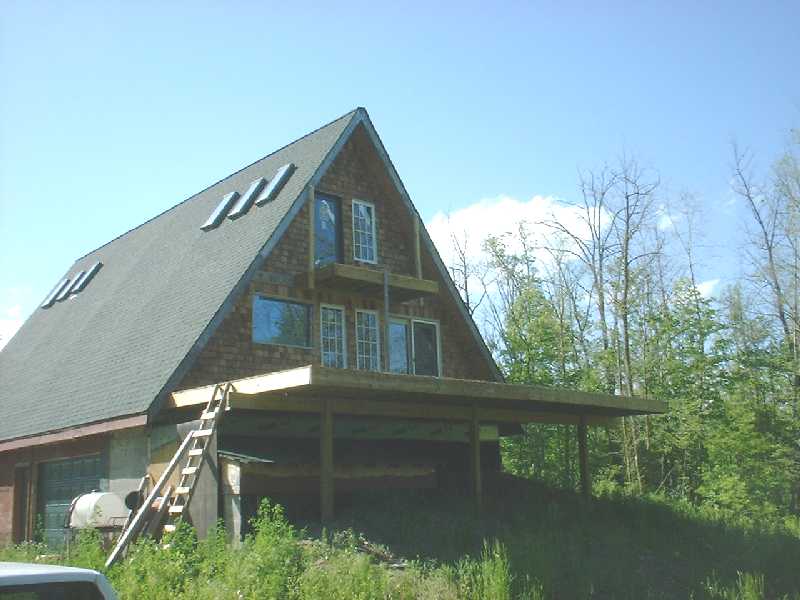
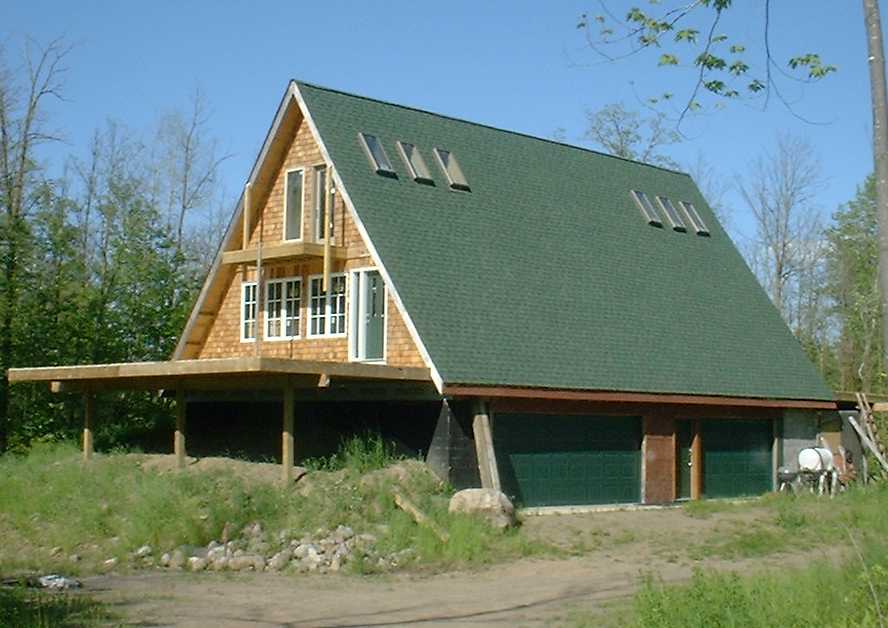
East side and west sides complete - minus the trim work. I mentioned earlier that the Windsor window had slowed me down. That's because without that window rough opening filled, I couldn't finish the siding...especially because I wasn't sure I could find a window of the exact same size. Fortunately for me, as I was shopping for some casement windows for the front and rear dormers (explanation another time), I found a picture window close to the size I needed. So, after a little recon on that rough opening - BAM! - new kitchen window. Yes, I know, kitchen windows (above the sink) usually open for whatever reason, but that's just the price you have to pay sometimes.
Previous Series Series Headings List Next Series
Copyright © 2002- Wright Track Enterprises, Inc. All rights reserved.