- The Bathroom (cont.) -
(click pictures for larger view)
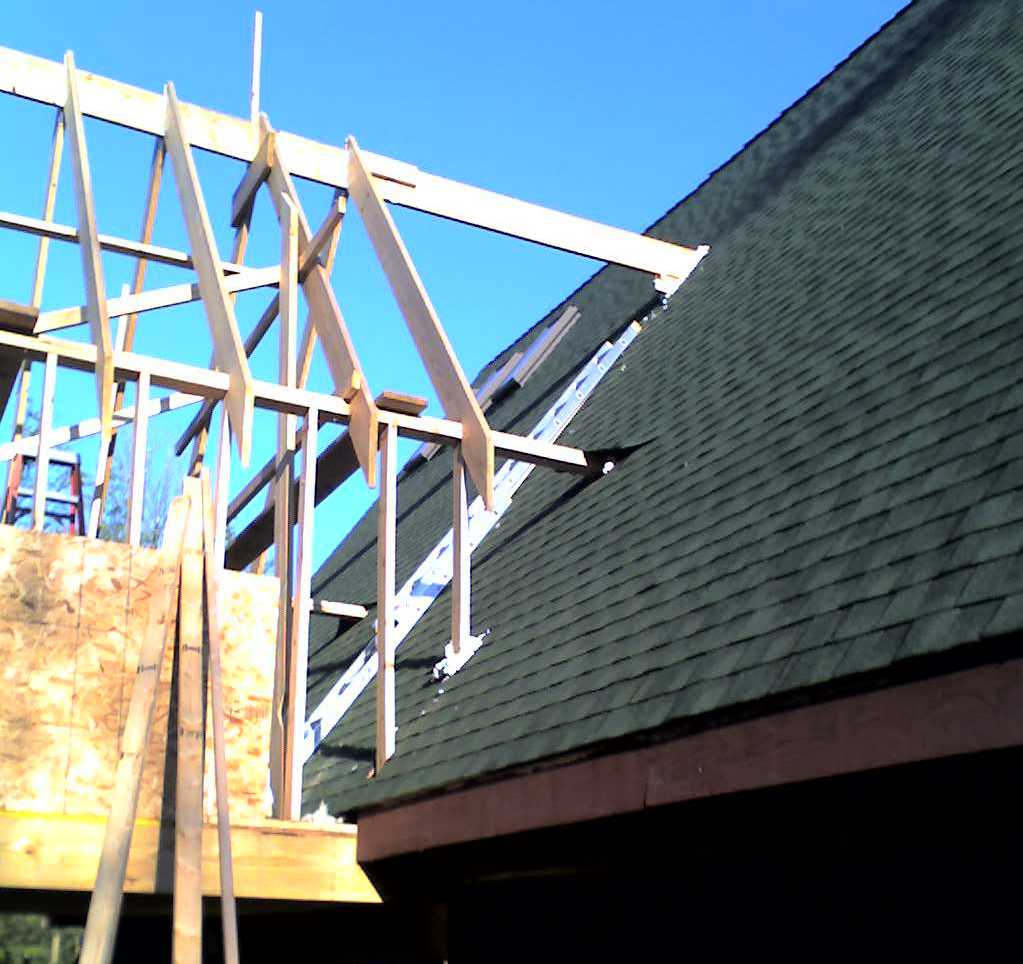
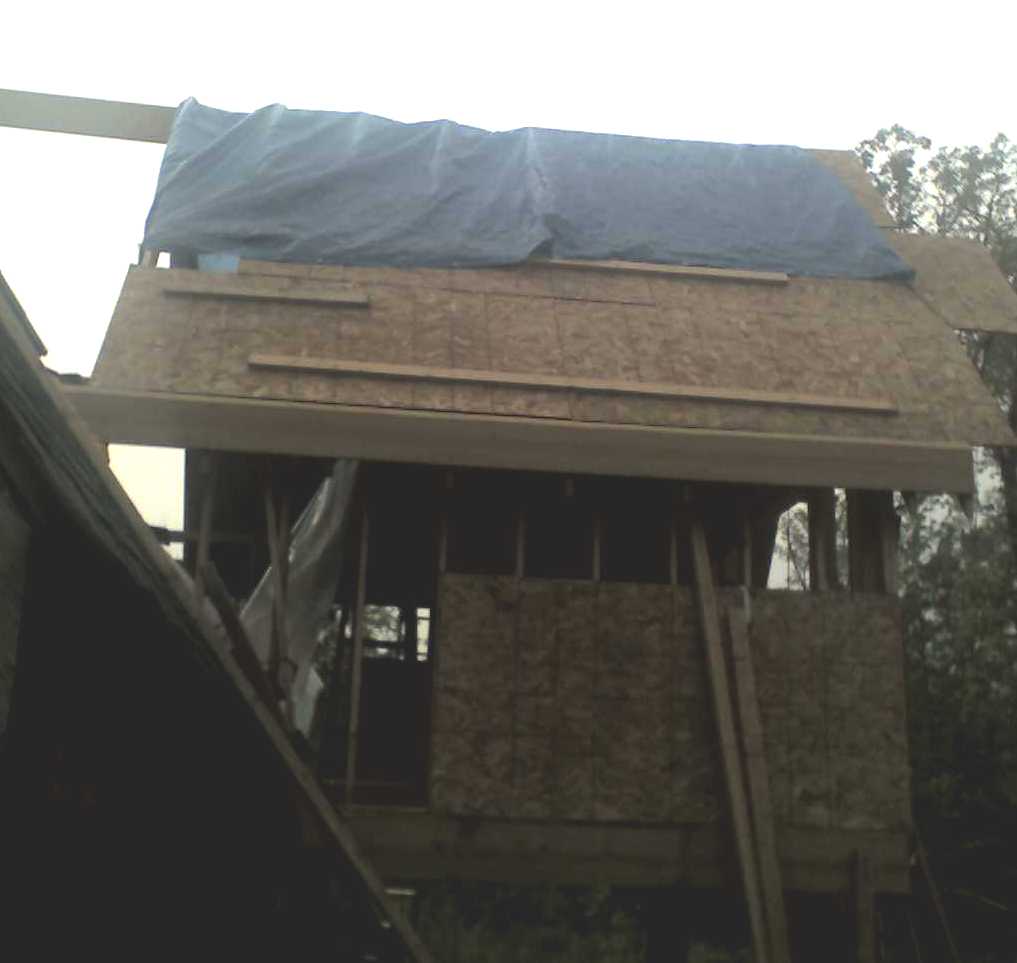
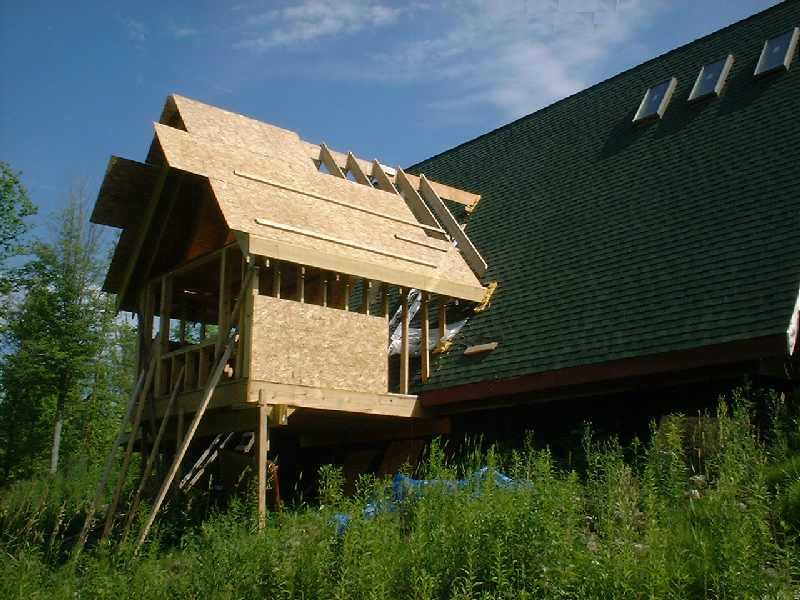
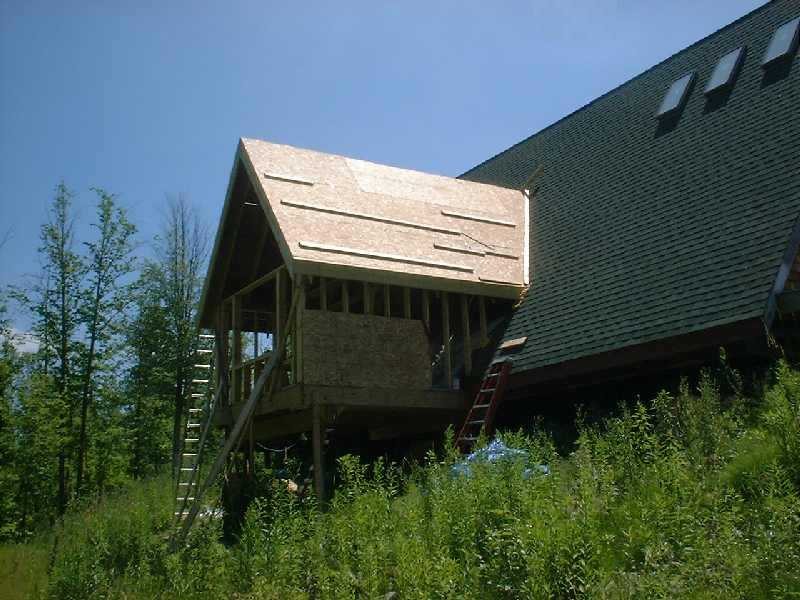
Summer and Fall 2010 (cont.): Pic 1 shows how I anchored the ridge beam and top of the studwall to the original roof rafters. I used expanding foam to temporarily plug the holes in case it rained (which it did, and it leaked horribly). Pics 2 & 3 are shots of the roof sheeting progress, and Pic 4 shows it done and trimmed. Pics 5 & 6 show the shingling, which I paid someone else to do (because I hate it and it's really dangerous with that steep pitch).
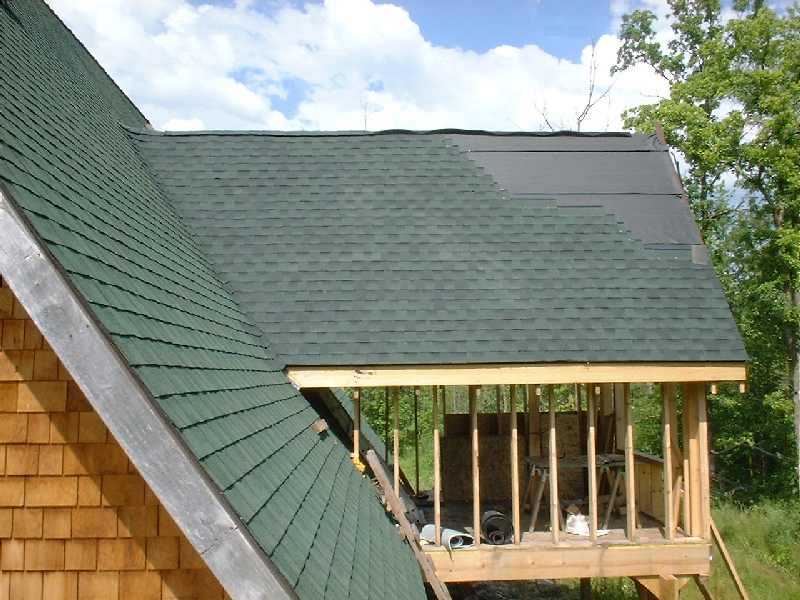
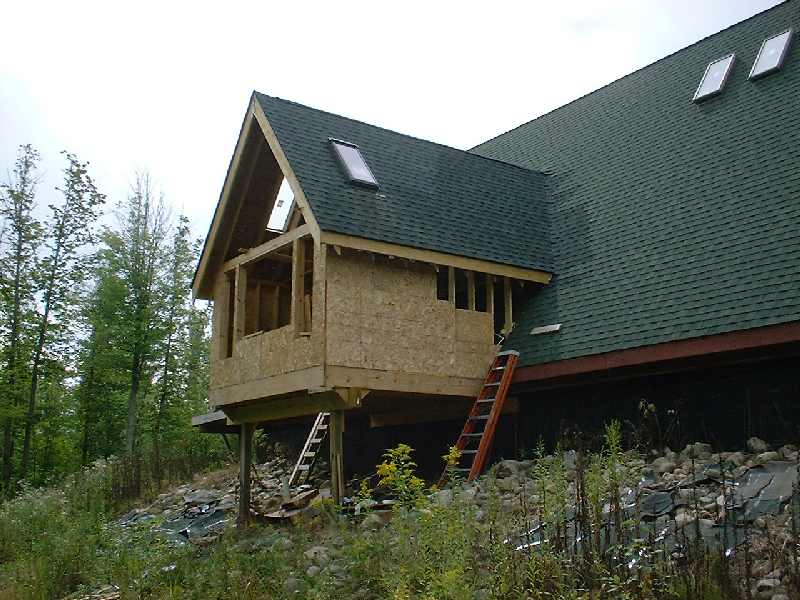
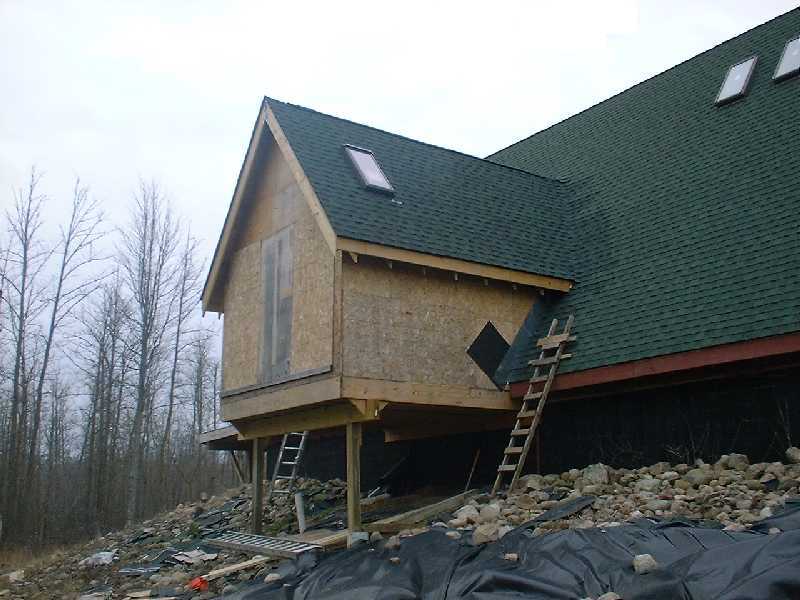

Pics 7 & 8 show the wall sheeting done, the wall/roof intersections reinforced and reshingled, and the window opening covered over. I had designed the original rough opening for some windows I already had, but I wasn't happy with how they were going to look. I'm going to keep looking for a big picture window or maybe a bay window because I want a really clear view of the forest.
Previous Series Series Headings List Next Series
Copyright © 2002- Wright Track Enterprises, Inc. All rights reserved.